
A washing machine spends its whole life around detergent, fabric softener, lint, body soil and water. Even though its job is cleaning, residue can slowly collect in the parts you rarely look at, like the dispenser, the door seal and the corners of the drum.
The good news is that routine washer care is usually simpler than people expect. For many machines, it comes down to wiping accessible surfaces, checking the dispenser and gasket, inspecting any filter you’re meant to clean yourself, and running the cleaning cycle your manufacturer recommends. This guide covers both front-load and top-load washing machines, and explains where models differ so you don’t follow steps that don’t apply to yours.

Check Your Washing Machine Manual First
Washers vary more than most people realize, and the manual is the only place that tells you what your machine allows. It can tell you whether your washer has a dedicated cleaning cycle, whether a pump or lint filter is meant to be cleaned by the owner, whether the detergent drawer comes out, which cleaners the manufacturer approves, and whether parts like an agitator cap are removable.
If the printed manual is long gone, you can usually find a digital copy on the manufacturer’s website by searching your model number. It’s typically on a label inside the door opening, along the rim of the tub, or on the back of the machine.
Stick to the parts of the washer that are designed for owners to reach. Don’t open service panels, electrical compartments or internal components. Anything beyond routine cleaning belongs with a qualified technician.
What Parts of a Washing Machine Usually Need Cleaning?
The exact layout depends on the brand and model, and no single washer has every part listed here. Common areas you can reach include:
The drum or tub
The detergent dispenser or drawer
The door or lid
The rubber door gasket (front-load machines)
A filter, where the manufacturer designs it to be user-accessible
The agitator or impeller area (top-load machines)
Exterior surfaces and control panel
Think of this as a menu of possibilities, not a checklist your machine must match.
How to Clean a Washing Machine Step by Step
These steps work as a general routine. Where your manual says something different, the manual wins.
1. Empty the Washer
Take out all clothing, towels and loose items, including anything that may be stuck to the drum wall or tucked into a gasket fold. Manufacturer cleaning cycles are generally meant to run with an empty drum, and some manuals specifically warn against running them with laundry inside because it can affect the clothing or the cycle itself.
2. Check for Loose Debris
Look inside the drum and around the openings you can see for lint, hair, paper, tissues, coins, hair ties and other small items. These often hide at the edge of the drum or in the folds of a door seal.
Remove what you can see and reach easily, ideally with a dry cloth or paper towel. Take care with anything sharp, such as pins, hairpins or broken pieces. Don’t push your fingers or tools into openings you can’t see into, because small objects can sit near moving or drainage parts that aren’t meant to be handled.
3. Clean the Detergent Dispenser
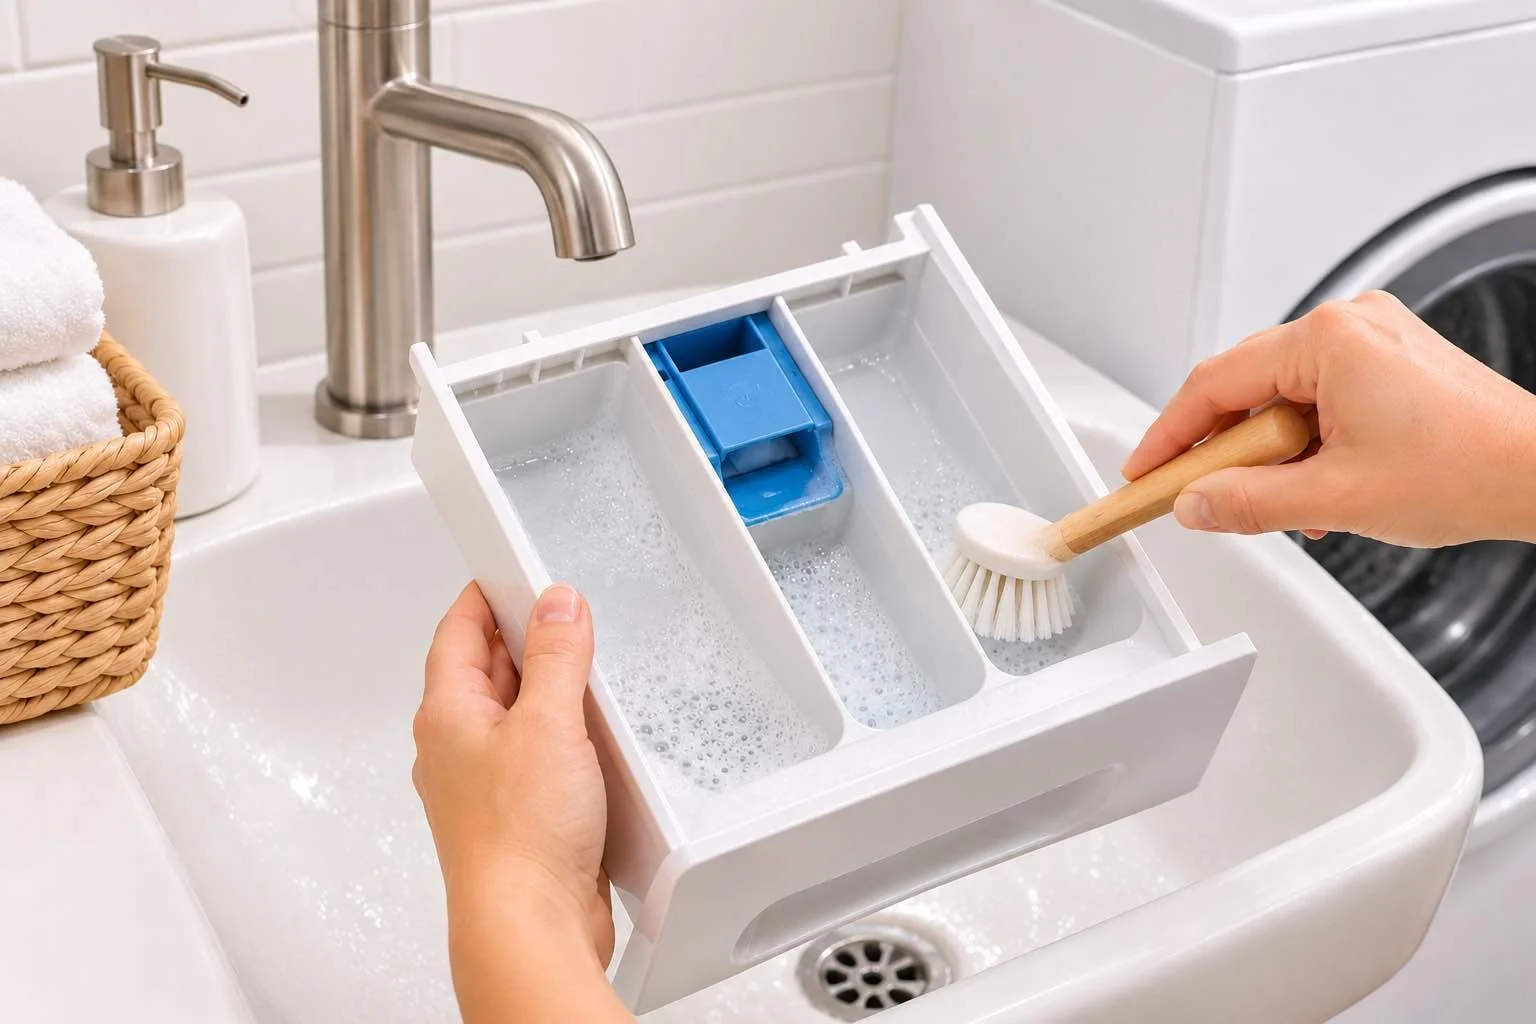
Detergent and softener don’t always rinse away completely, and the thickened residue that builds up in a dispenser can become sticky, discolored or slow to drain.
Check your manual to see whether the drawer or dispenser is removable. Some are designed to lift out with a particular tilt or release, and others are not meant to be removed at all. If yours is removable, follow the manufacturer’s exact removal instructions, then wipe or rinse it according to their guidance. If it isn’t, wipe only the parts you can reach.
A soft, damp cloth and a mild cleaning method the manufacturer allows are usually enough. A soft, non-metallic brush can help in narrow corners. Don’t assume the dispenser is dishwasher-safe, since heat and detergent can warp or damage some plastic parts.
4. Clean the Door or Lid
Wipe the inside and outside surfaces where residue and moisture collect.
On a front-load washer, pay attention to the door glass and the area around it, where a film of detergent and lint can build up. On a top-load washer, wipe the underside of the lid and the accessible rim around the tub, which tend to collect splashes of detergent and softener.
Use a soft cloth and avoid abrasive pads or cleaners unless your manufacturer specifically approves them, since scratches can damage glass, plastic and finishes.
5. Clean the Front-Load Rubber Gasket
Front-load washers commonly have a rubber door seal, sometimes called a gasket or boot. Because it has deep folds and sits right where water collects, it’s a place where moisture, lint, hair and small debris can end up.
Gently pull back the accessible folds and look inside. Remove anything loose and wipe the surfaces with a soft cloth using the method your manufacturer recommends. For routine care, use the cleaning method and materials recommended for your model.
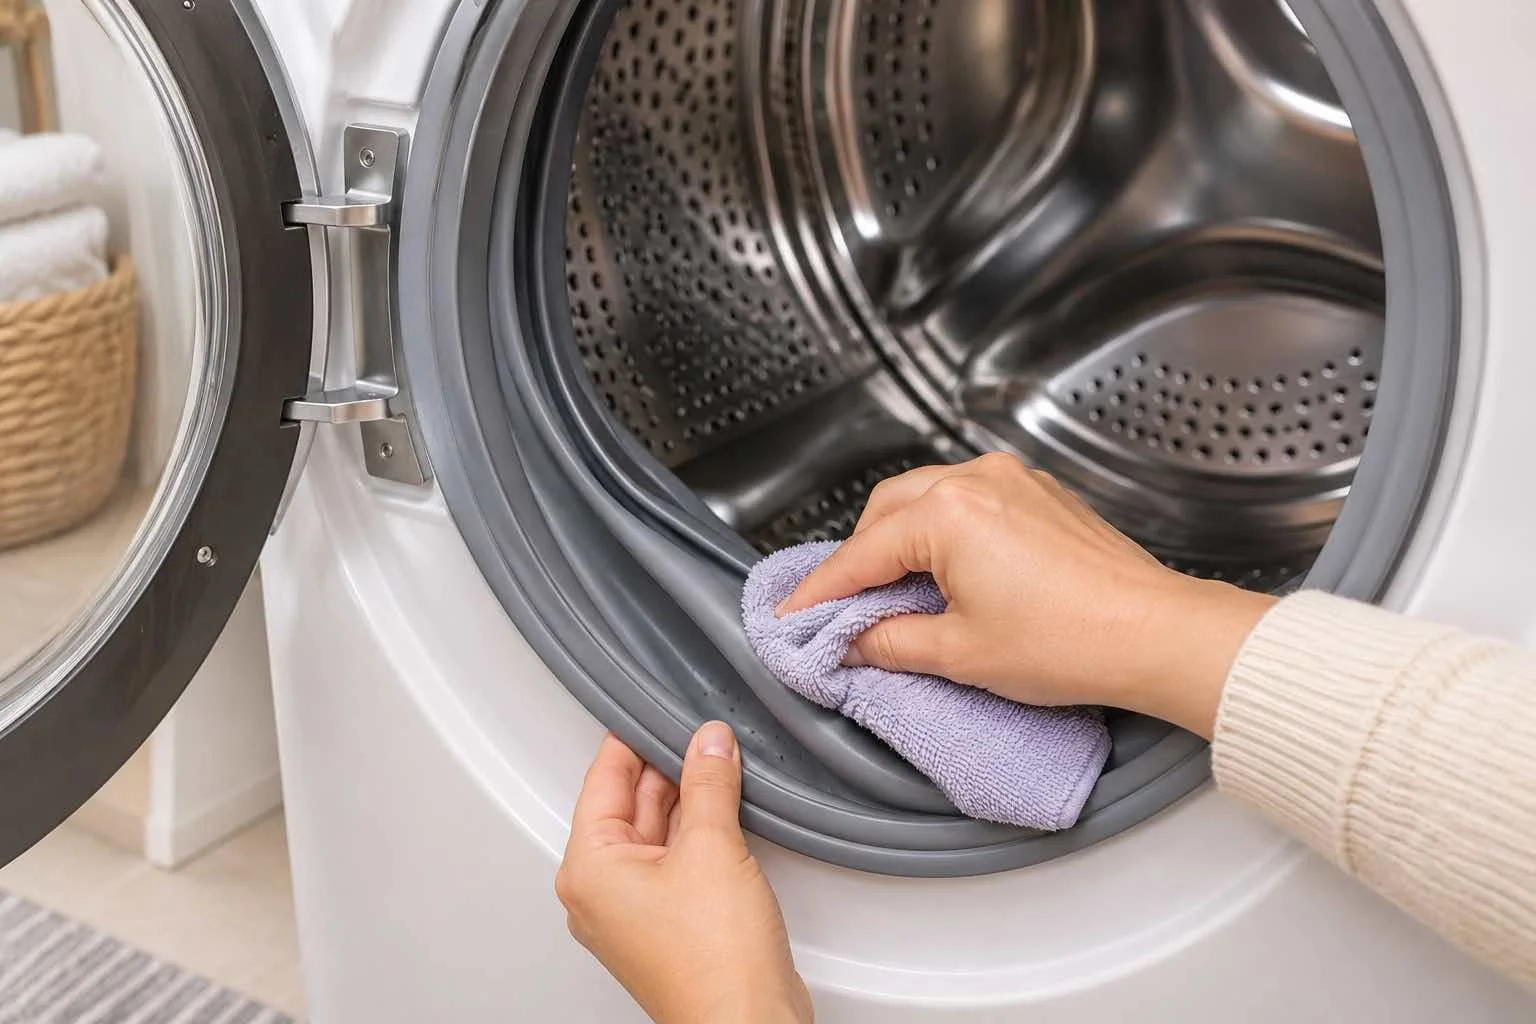
A few cautions matter here:
Don’t remove the gasket. It’s a sealing component and isn’t a routine cleaning step.
Don’t pour undiluted cleaning chemicals onto rubber parts. Rubber and other materials can react differently to different products, and what’s fine for one brand may not be for another.
If you see persistent dark staining, mold-like residue or damage that doesn’t improve with approved cleaning, check your manufacturer’s support resources. Escalating to stronger homemade mixtures can damage the seal and create other problems.
6. Check the Washing Machine Filter
If you’ve wondered how to clean a washing machine filter, the first answer is that not every washer has one you’re meant to touch.
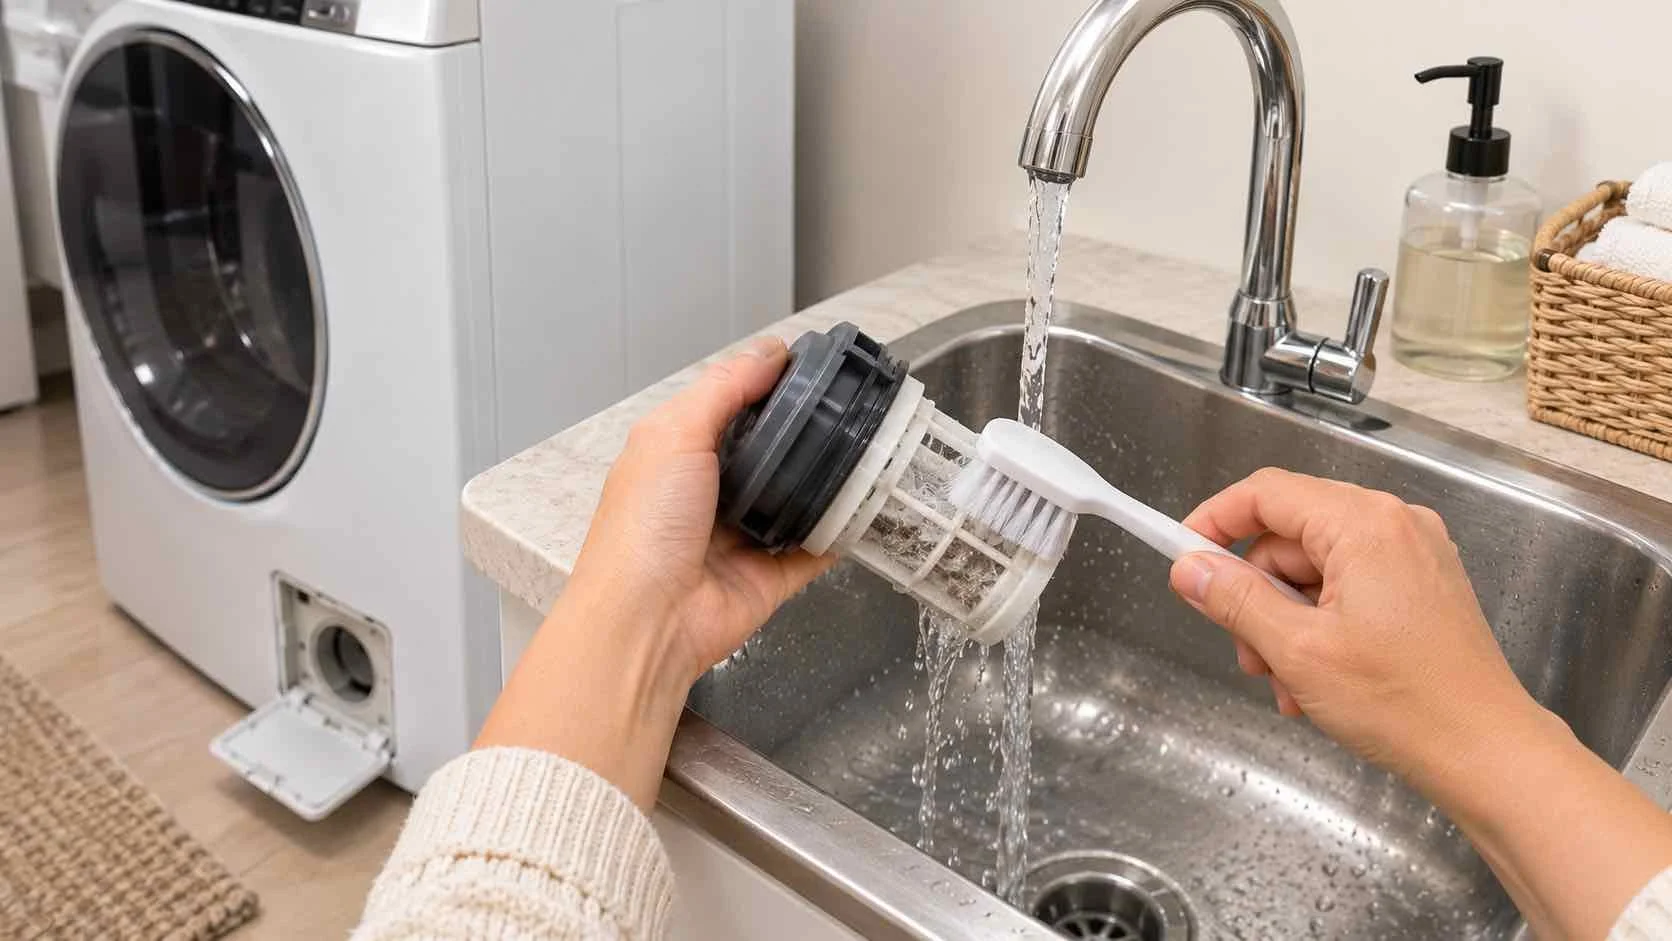
Some washers, especially certain front-load models, have a pump or drain filter that the owner can access, often behind a small panel near the bottom front of the machine. Others have no user-serviceable filter at all, and some top-load machines have lint filters or screens in different places. Location, access method and cleaning steps vary a lot by brand and model.
So before you open or remove anything, check the owner’s manual. If the manufacturer identifies the filter as user-cleanable, follow its exact instructions, including any steps about draining water first, because water may come out when you open it.
There’s no universal twist direction and no schedule that fits every machine, so don’t rely on general advice for how often or in which direction to turn it. If your manual doesn’t mention an owner-accessible filter, don’t go looking for one.
7. Inspect the Agitator or Impeller Area
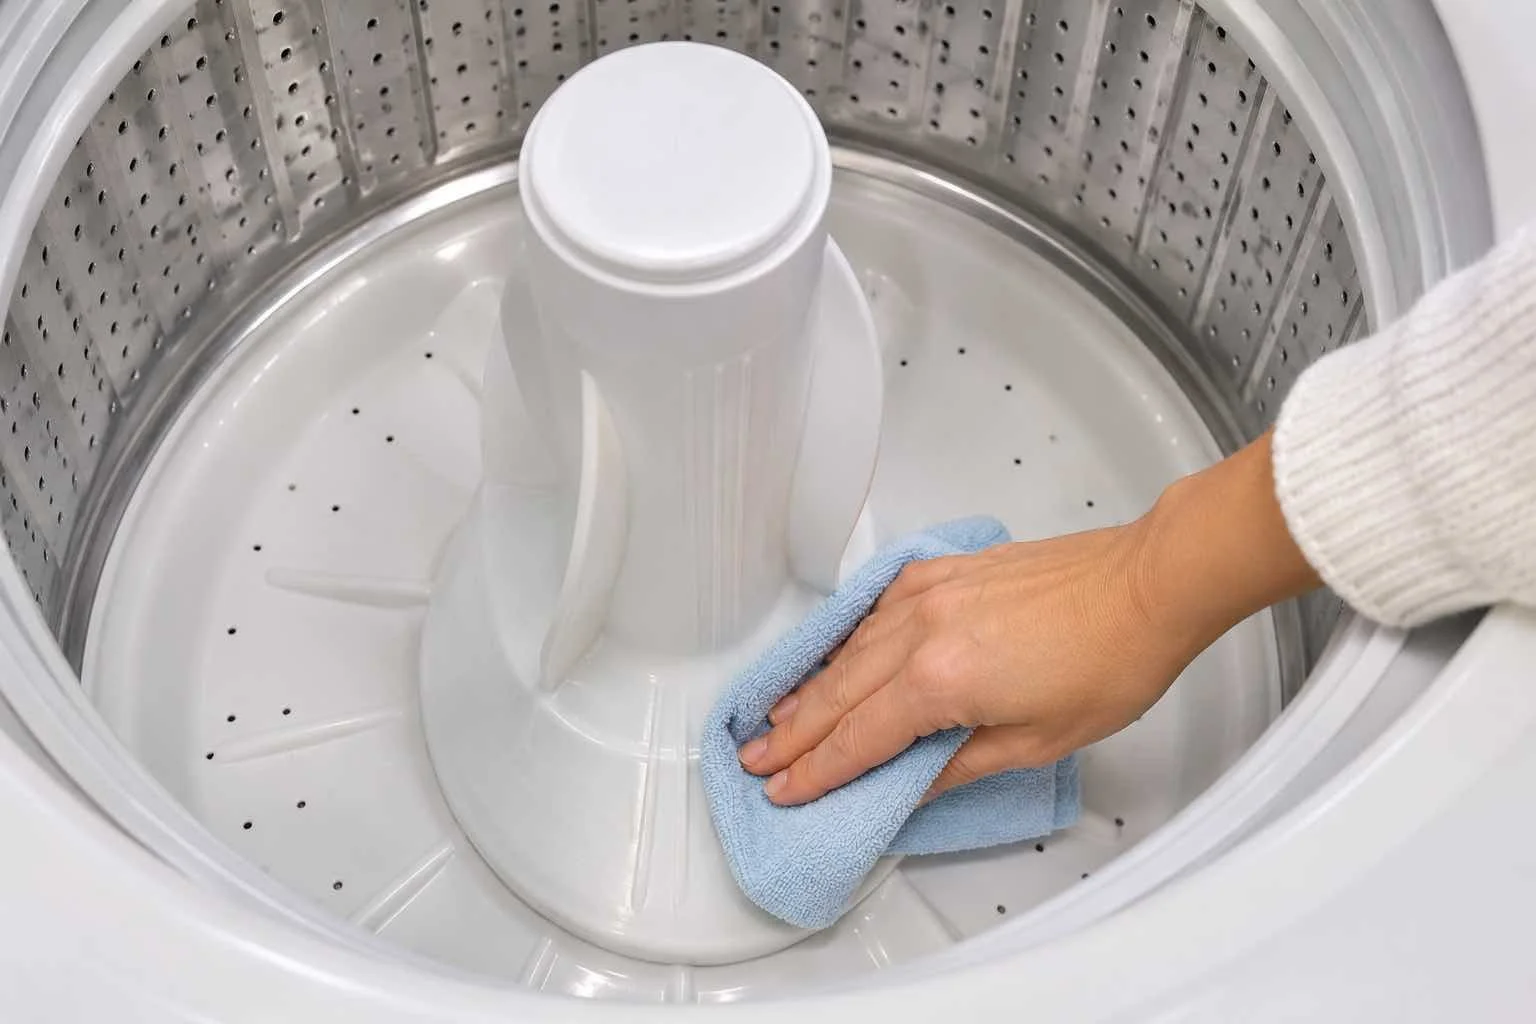
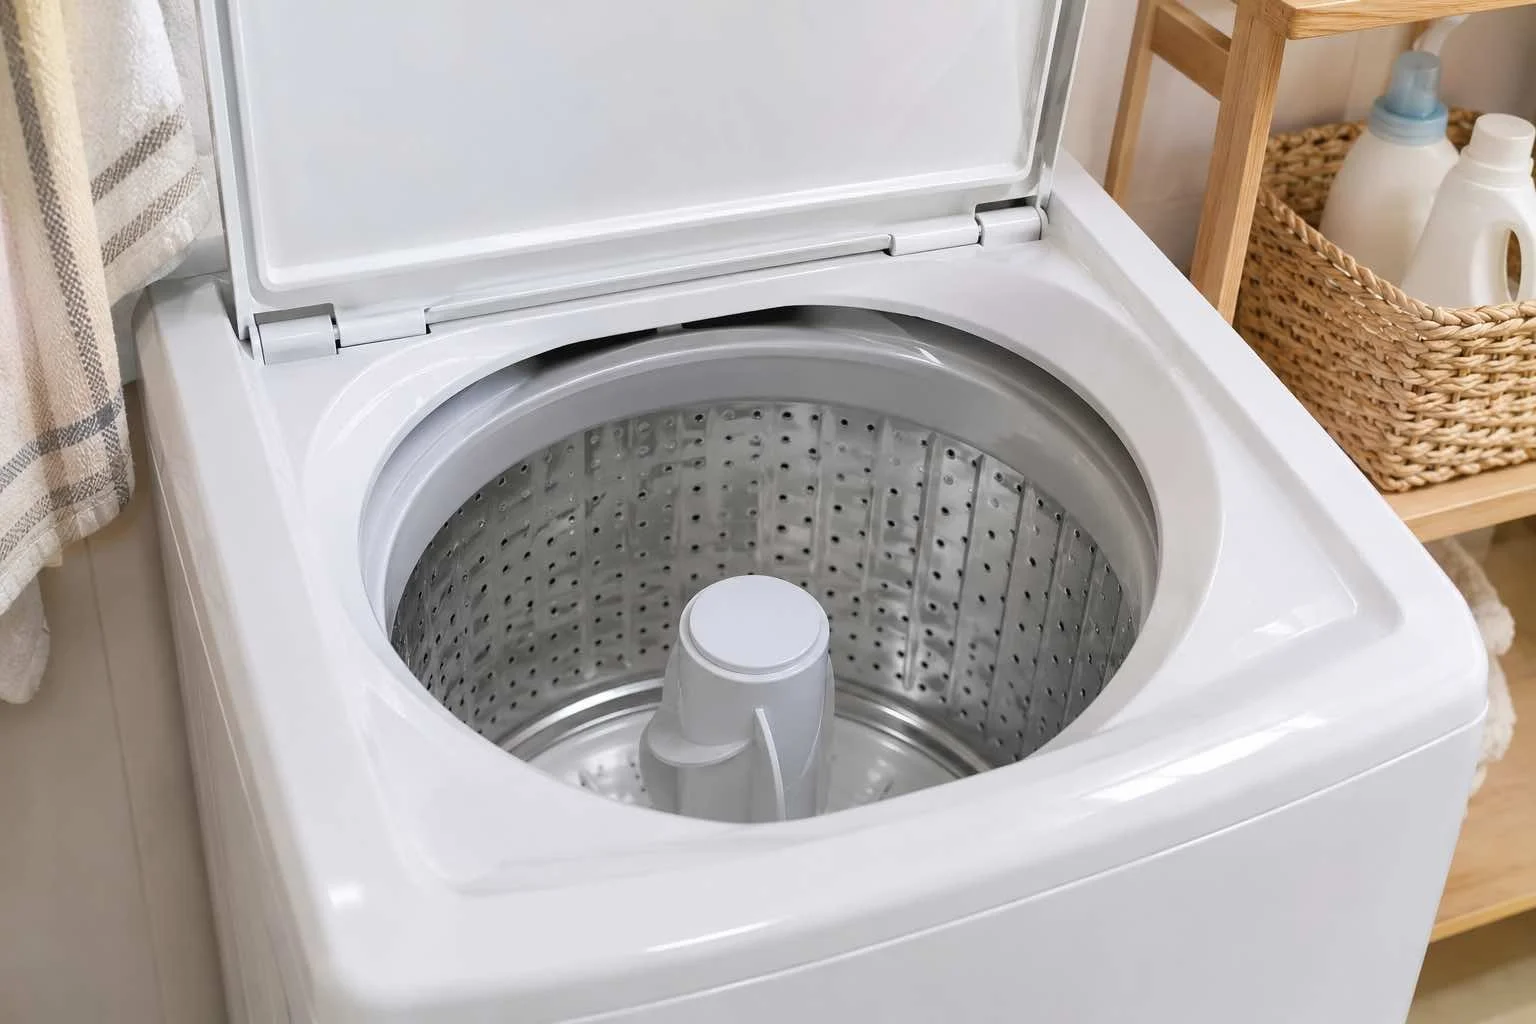
Many top-load washers use either an agitator (the center post) or an impeller (a low, finned disc at the bottom of the tub). Which one you have affects how residue collects.
If you can see residue around the agitator or impeller, wipe the accessible surfaces with a soft cloth. If a cap or component looks removable, check your manual before trying to take it off, because some are designed to come off and others are not. Never force any part. If it does not release as described in your owner’s manual, leave it in place and check the manufacturer’s instructions before continuing.
8. Run the Manufacturer-Recommended Cleaning Cycle
Many machines have a built-in maintenance cycle, but manufacturers use different names for it. You may see it called:
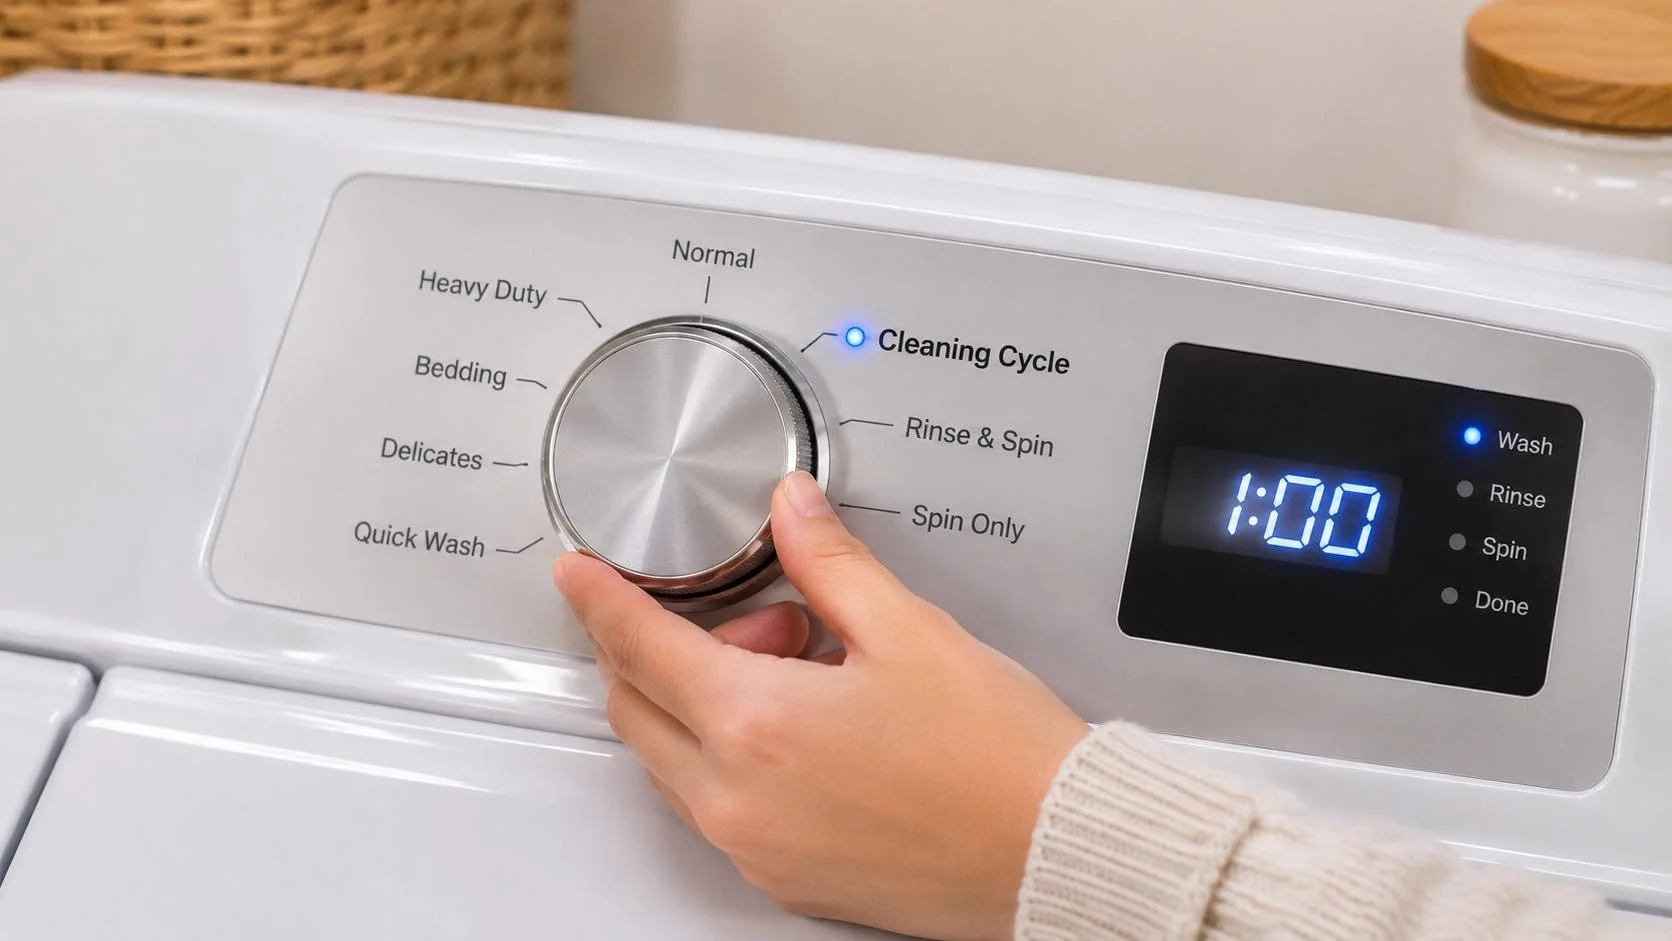
Clean Washer
Self Clean or Self Clean+
Pure Cycle
Tub Clean or Basket Clean
Or another model-specific name
These cycles aren’t all the same. Some manufacturers specify that nothing should be added during routine self-cleaning. For example, Samsung says its Self Clean cycle normally runs without added cleaner, with bleach reserved for certain mold or mildew procedures. Others permit an approved washer cleaner or, for certain procedures, a specific product such as chlorine bleach. Some run hotter, use more water or take longer than a normal wash.
Look up the cycle name in your manual and follow its instructions for what, if anything, to add and where to put it. Some manuals also note that the water inside can be very hot after a high-temperature cycle, so wait before reaching inside.
If your machine doesn’t have a dedicated cycle, your manual may suggest an alternative, such as a hot, high-water-level cycle. Follow that rather than improvising.
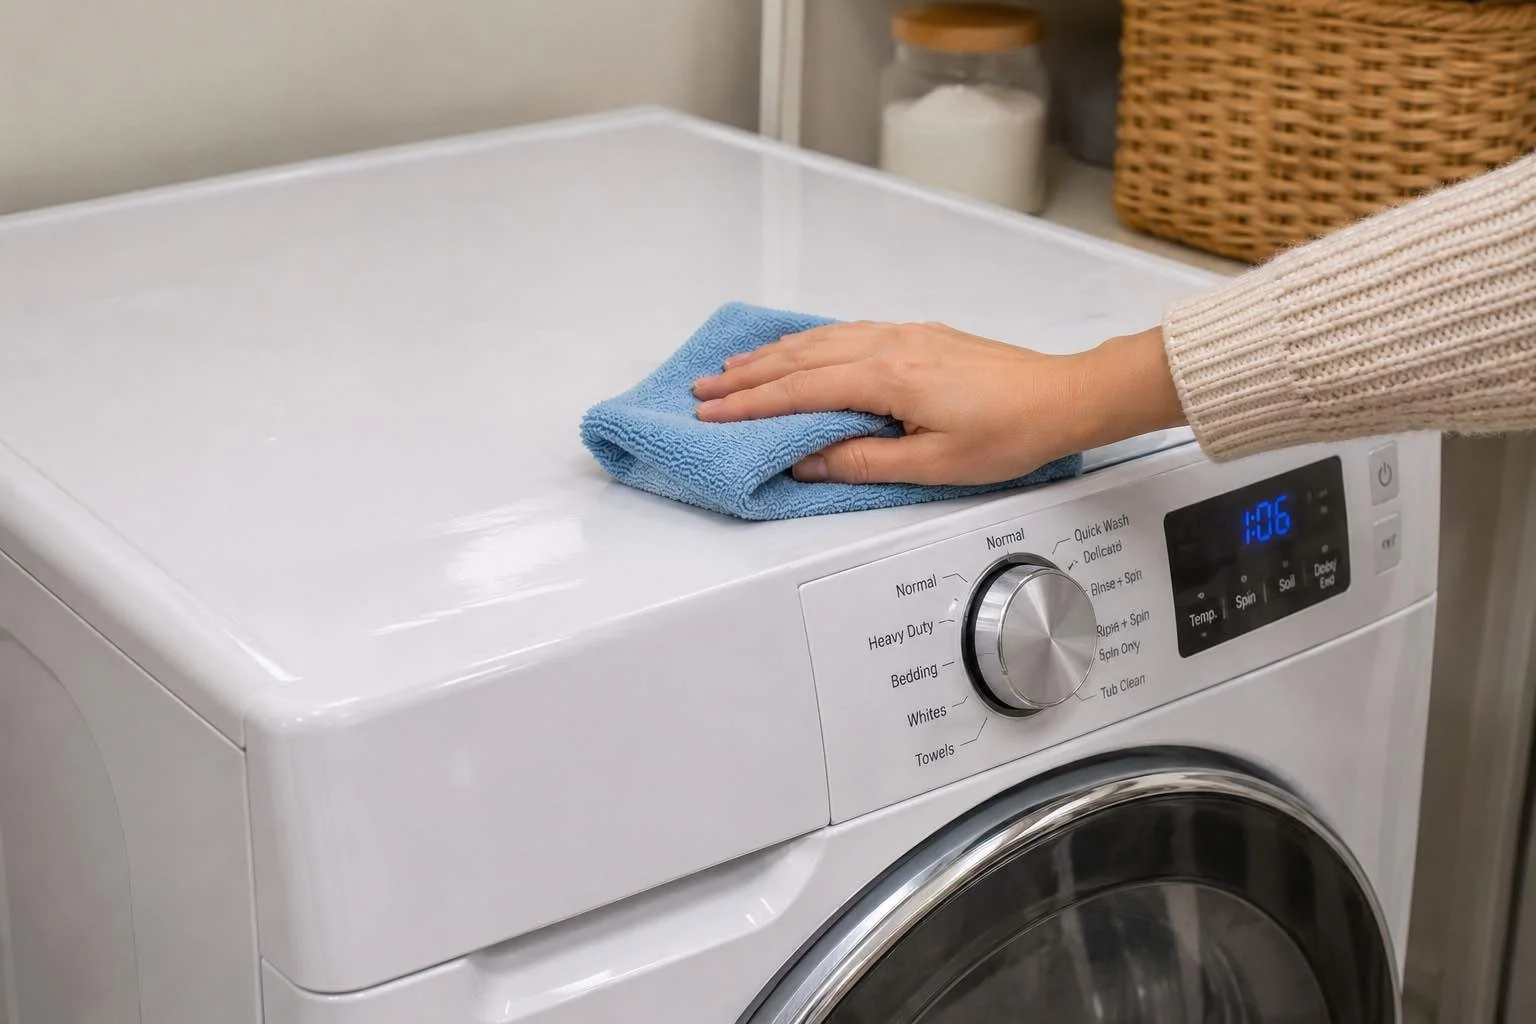
9. Wipe the Exterior
Use a soft, damp cloth and a mild cleaner where your manufacturer allows it. Wipe the top, sides, door or lid edges and control panel area.
Don’t spray liquid directly onto the controls, because moisture can get into electronic components. Spray the cloth lightly if you need a cleaner, and avoid abrasive materials that can scratch the finish.
How to Clean a Front-Load Washing Machine
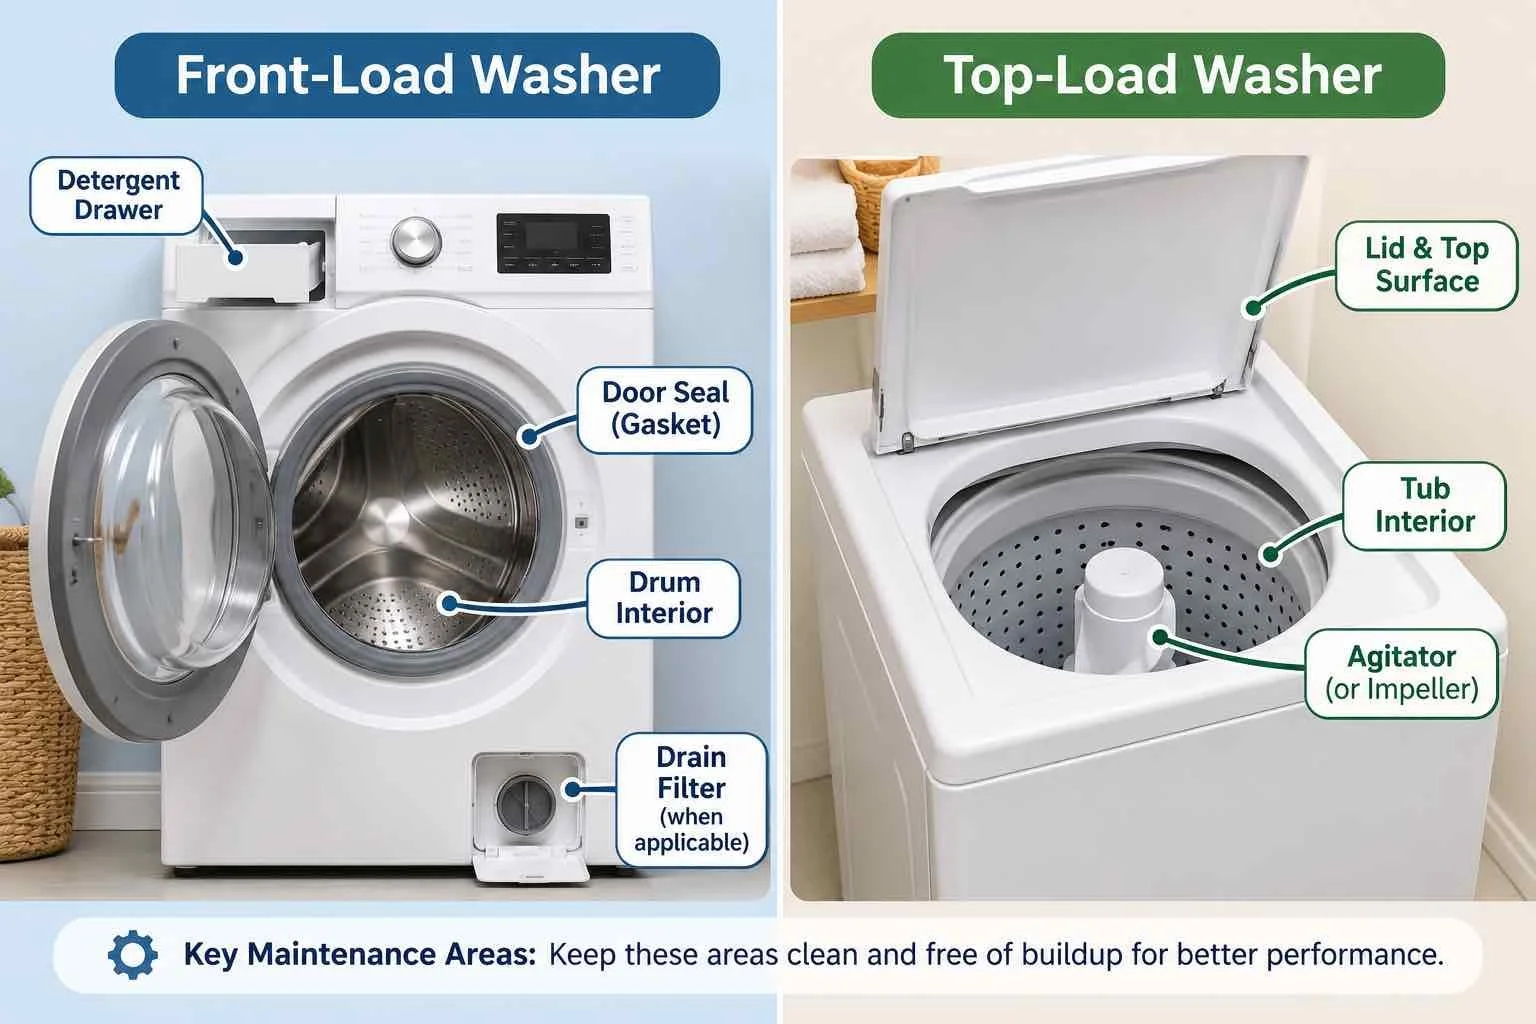
When people search for how to clean a front load washing machine, what they usually need is a plan for the parts that are specific to these designs. Front-loaders deserve particular attention around:
The door gasket, where water, lint and small items collect
The door glass, which can pick up a film of residue
The detergent drawer, where buildup is easy to see
The pump filter, on models that have an owner-accessible one
The drum-cleaning cycle, which your manual will name
You don’t need to repeat every step above each time. A quick wipe of the gasket and a look at the dispenser can be part of a regular routine, with the cleaning cycle and filter check following your manufacturer’s guidance.
Front-load machines aren’t all built the same. One brand’s filter may sit behind a front panel, while another model may not have an owner-cleanable one. Gasket shape, drawer design and cycle names also vary, so use your own manual as the guide.
How to Clean a Top-Load Washing Machine
If you’re looking for how to clean a top load washing machine, focus on these areas:
The tub, wiping any visible residue near the top edge and inside
The lid and rim, which collect splashes
The detergent and softener dispensers, if your machine has them
The agitator or impeller area, where residue can collect
The manufacturer’s cleaning cycle, if there is one
Some top-load washers have removable agitator components, and others do not. Where a cap or part is designed to come off, your manual will say how. If it doesn’t, leave it in place, and don’t pry or force an agitator cap, since you can crack it or damage the machine.
Top-load machines may also have a lint filter or screen in different locations, or none at all. Check your manual instead of assuming.
Can You Clean a Washing Machine With Vinegar?
Vinegar shows up constantly in online cleaning advice, so it’s reasonable to wonder about how to clean a washing machine with vinegar. But it shouldn’t be treated as automatically approved for every washer.
Seals, hoses and other components are made from different materials, and manufacturers differ in what they say about acidic cleaners. Manufacturer guidance varies, so check the instructions for your specific washer before using vinegar. For example, Whirlpool advises against adding vinegar directly to the washing-machine drum because repeated exposure may affect rubber seals, hoses and other components.
Check your manual or the manufacturer’s guidance first. If it’s not mentioned, or the manufacturer recommends something else, don’t use it.
For that reason, there’s no universal vinegar amount or recipe here. Avoid routinely pouring vinegar directly onto rubber seals. And vinegar isn’t required for odor control, so you don’t need it to keep a washer in good shape. If a manufacturer specifically permits vinegar for a particular model or procedure, follow its directions exactly.
What About Baking Soda?
Baking soda also appears in household cleaning advice, but it isn’t universally approved for washers either. If your manufacturer’s instructions permit it for a particular use, follow those directions.
Don’t combine baking soda and vinegar just to create fizz. Visible bubbling doesn’t mean the mixture is cleaning better, and it’s not a substitute for the cleaning method your manufacturer recommends.
Can You Use Bleach to Clean a Washing Machine?
Some washer manufacturers allow chlorine bleach in certain cleaning procedures. Others specify a particular cleaning cycle or a particular product, and some models are designed to be cleaned without adding anything.
Check your model’s instructions. Where bleach is allowed, the manual may say how much to use, where to add it and which cycle to run, and those details differ between machines, so don’t borrow an amount from another source. Don’t pour bleach directly onto seals or other surfaces unless the manufacturer explicitly tells you to.
Never Mix Household Cleaning Chemicals
Don’t mix chlorine bleach with vinegar, ammonia or other cleaners that aren’t meant to be combined. Don’t improvise chemical combinations in or around your washer, and don’t add a second product to a cycle “just in case.”
Follow the product label and your appliance manufacturer’s instructions for each product separately. If you’re not sure whether something is allowed, leave it out.
How Often Should You Clean a Washing Machine?
There isn’t one schedule that fits every washer. Recommendations vary by manufacturer, model, water conditions, how much detergent you use and how often you wash.
Some manufacturers do recommend a cleaning cycle about once a month or after a certain number of loads. Whirlpool and Samsung, for example, publish cleaning guidance for particular machines and cycles, and some Samsung models display a reminder after a set number of washes. Those intervals are model-specific, so don’t treat them as a rule for every washer.
The most reliable approach is to follow your own manual and watch for practical signals: visible buildup, a dispenser that’s getting residue-heavy, or a cleaning reminder from the machine itself. A smell alone doesn’t always mean the washer is dirty, since odors can have other causes.
Signs Your Washing Machine May Need Cleaning
Cautious indicators include:
Visible detergent or softener residue
Buildup in a dispenser
Debris collecting around an accessible gasket
A cleaning-cycle reminder on the control panel
Residue you can see in the drum
An odor that seems to come from the washer itself
These signs can have other causes, such as too much detergent, water conditions or a drainage issue. Cleaning is a sensible first step, but it won’t solve every odor or performance problem.
What If the Washing Machine Smells?
Residue and lingering moisture can contribute to odors, but they’re not the only possible cause. Laundry left sitting in the drum, a drainage problem or other factors can also play a part, so it’s best not to assume one explanation.
Start with the basics: manufacturer-approved routine cleaning and the accessible areas, including the dispenser, door and gasket. Don’t repeatedly run harsh chemical cycles to chase a smell, since that can be hard on the machine and doesn’t guarantee results.
If an odor or visible mold persists after approved cleaning, contact the manufacturer’s support resources or an appropriate service professional rather than going further on your own.
Should You Leave the Washing Machine Door Open?
Some manufacturers recommend letting the washer interior and detergent drawer air out between loads, since that helps moisture escape. Others build in features to help the machine dry itself.
That advice shouldn’t override household safety, though. If small children or pets can get into the laundry area, an open washer can be a hazard, so follow both the manufacturer’s guidance and your own household’s safety needs. It’s not a rule to apply everywhere, so use the approach your manual supports and your home allows.
Common Washing Machine Cleaning Mistakes
Using instructions meant for a different brand or model. Cycle names, filters and approved cleaners differ, so another machine’s steps may not suit yours.
Forcing removable-looking parts. A cap, drawer or panel that looks like it should come off may not, and forcing it can break it.
Assuming every machine has a removable filter. Some don’t, and opening the wrong access point can cause leaks or damage.
Adding cleaners to a Self Clean cycle when the manufacturer says not to. Some cycles are designed to run on their own.
Mixing cleaning chemicals. It can create unsafe fumes and isn’t worth the risk.
Using abrasive materials. They can scratch glass, plastic and finishes.
Ignoring dispenser and gasket residue. These are the spots where buildup is easiest to see and reach.
Treating a mechanical problem as a cleaning problem. Leaks and drainage trouble usually need troubleshooting, not another cleaning round.
Using too much detergent in normal washing. Excess detergent leaves more residue behind, so follow the amount recommended for your machine and load.
When Cleaning Is Not the Solution
Cleaning can only do so much. You may need troubleshooting or professional service if you notice:
Leaks
Repeated drainage problems
Persistent error codes
Unusual mechanical noises
A damaged gasket
Performance problems that continue after routine maintenance
Don’t attempt pump, wiring, motor or internal repairs yourself. If you notice smoke, a burning smell or any sign of an electrical fault, stop using the machine and follow the manufacturer’s and a qualified service professional’s guidance.
Simple Washing Machine Cleaning Checklist
Check your manual for what applies to your model
Empty the washer completely
Remove any visible loose debris
Wipe the detergent dispenser (removing it only if the manual says so)
Clean the door or lid and surrounding areas
Check the gasket on front-loaders
Check any user-serviceable filter, following the manual
Inspect accessible agitator or impeller areas
Run the manufacturer-approved cleaning cycle
Wipe the exterior
Reinstall any removable parts correctly
How Washer Care Fits Into a Practical Laundry Routine
A clean machine is one part of a routine that works well. Understanding your clothing labels helps you choose suitable wash cycles before anything reaches the drum, and our guide to laundry care symbols walks through what those little icons mean.
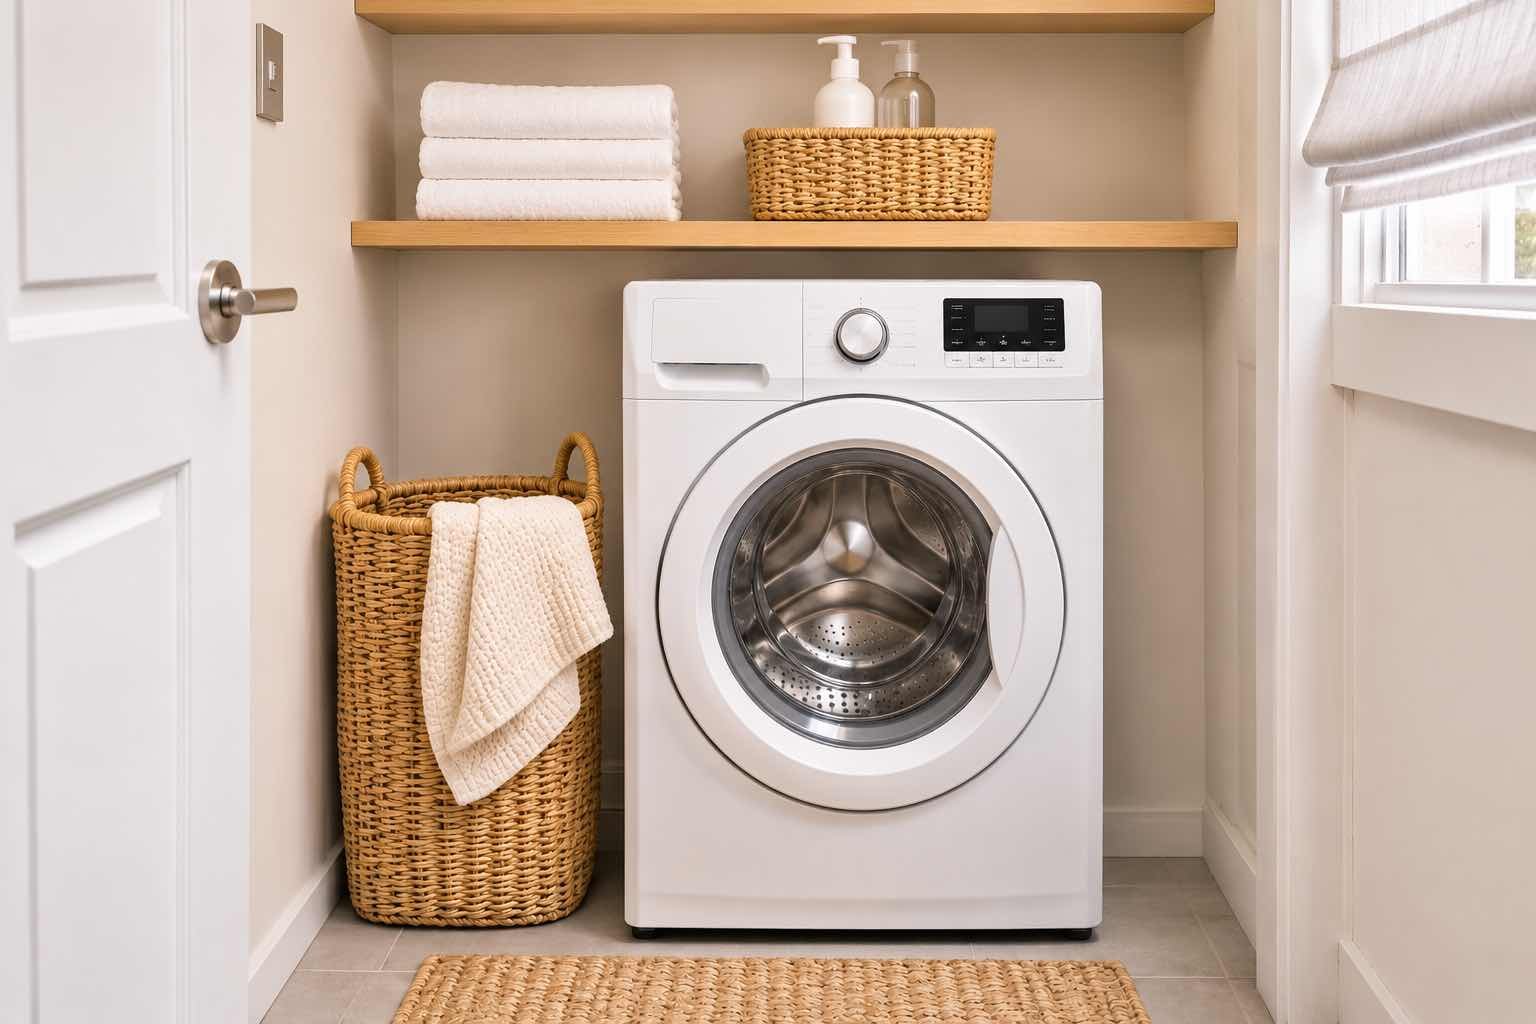
An organized laundry area also makes maintenance easier. When the space around the washer is clear and the dispenser is easy to reach, quick wipe-downs are far more likely to happen. If your space is tight, our small laundry room ideas are a good place to start.
Frequently Asked Questions
How do you clean the inside of a washing machine?
The safest starting point is the manufacturer-recommended cleaning cycle and approved cleaning method for your model. Empty the drum, wipe accessible surfaces, and follow your manual for any cleaner. The cycle name and procedure vary by brand.
Can I use vinegar to clean a washing machine?
It depends on manufacturer guidance. Vinegar isn’t approved for every washer, so check your manual first, and if it doesn’t mention vinegar, don’t use it.
Can I use bleach?
Some machines allow chlorine bleach for certain procedures, but not all do. Follow your model’s instructions for whether and how to use it.
Do all washing machines have a filter?
No. Filter design and user access vary, and some washers have no owner-serviceable filter. Check your manual before looking for or opening one.
How do you clean a front-load washing machine gasket?
Gently wipe the accessible folds with a soft cloth, following your manufacturer’s guidance. Don’t remove the gasket, and don’t pour undiluted chemicals onto it.
Why does my washing machine smell?
Residue and lingering moisture can contribute, but odors can also have other causes. Start with approved routine cleaning, and contact support or a service professional if it persists.
Can I use dish soap to clean a washing machine?
It’s not recommended. Dish soap creates far more suds than washing machine detergent, and Whirlpool specifically advises against using it to clean a washer. Leftover suds can cause problems the next time you run it.
What is a Self Clean or Clean Washer cycle?
It’s a dedicated maintenance cycle on some machines. Names, settings and procedures vary by brand and model, so check your manual for yours.
A Clean Washing Machine Starts With the Instructions for Your Model
The most useful routine is a simple one: clean accessible residue, pay attention to dispensers and gaskets, check user-serviceable filters where your machine has them, run the manufacturer’s cleaning cycle, and avoid improvised chemical combinations. Your manual is the best guide to the details.
For more practical ideas for everyday living, explore the rest of the Lulonta home guides.
